Posts

3D printing and other updates

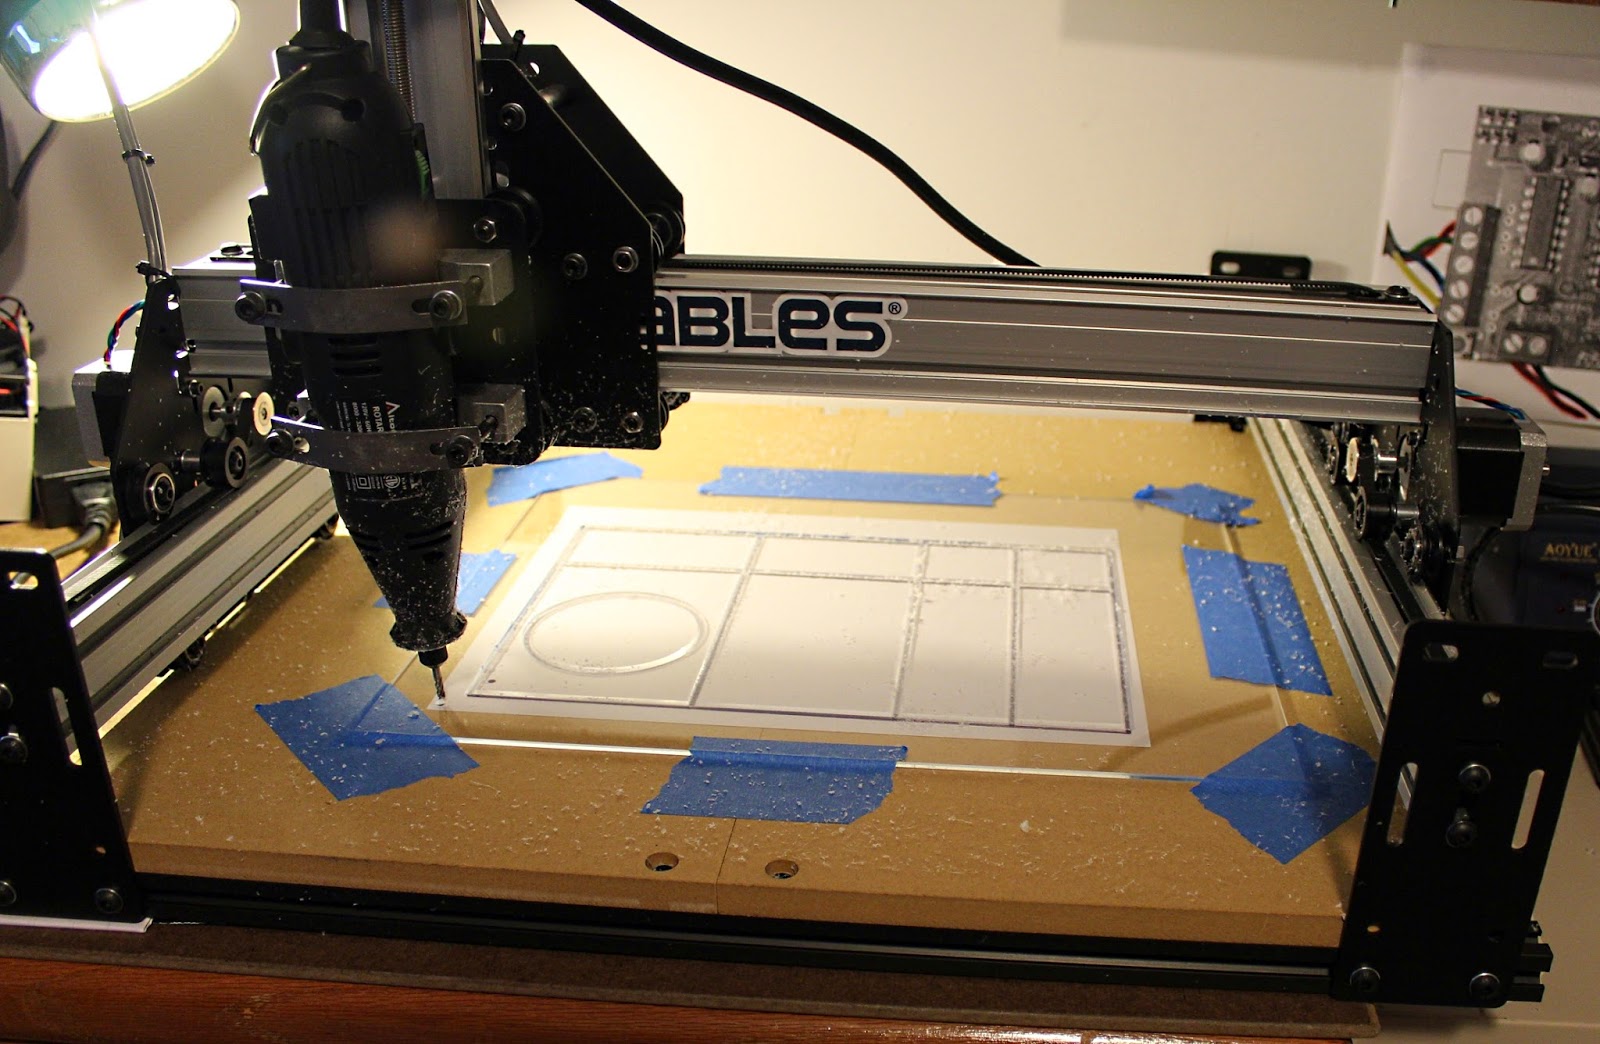
I haven't blogged in a while, but that doesn't mean I have been idle. Here are a few updates: I've updated my CNC setup with a Makita router I've ground out a few interesting works on the CNC (more later) I've created a robot that runs off of an Arduino and a Tamiya "tank" frame I've gotten a 3D printer This last one has been a lot of fun. I'll get into all these points eventually (maybe in different posts), but I wanted to throw in a few notes about the 3D printer first. A few years back, my wife had started work as a technical para-professional at our kids' elementary school. A para-professional is anyone who has some expertise with a particular subject, but is not a full-time teacher. Her job description included things like help with tech-support, assist in standardized testing setup and handling, as well as help teach kids how to code or use computers and related tech. She worked as a tech-para a couple of years until the di

CNC Process

Image
Here's yet another CNC post, this time about process. While I've been having fun turning images into carvings, I've been following a process. This post is about that process, or the steps I take from image to carving.  It's worth mentioning also that I am able to complete all these steps with free software. While I will likely end up buying some more sophisticated software in the future at some point, I have done so yet. To be honest, I am not sure what software would be best - and there are a lot of options out there.  So for now, I use a process that involves using free software. Also worth noting is that all the software is Windows based, though much of it has versions that can be run on Mac or Linux.  Here are the steps I typically follow Find an image Convert the image to a silhouette Convert the silhouette to a vector image Convert the vector image to g-code Run the g-code and carve Let's take them one at a time.  Step one:   Find an imag

The Shapeoko 2: Part 3 - Stuff

Image
My initial efforts at carving things with the Shapeoko 2 involved graph paper and manually entering coordinates into a text editor. My goal was to teach myself more about g-code and how it worked. I succeeded, though the process as a bit annoying and difficult. What I could produce this way as fairly simple, though yielded some interesting results. One of the first patterns was just an attempt and creating nesting squares and diamonds to see how a 1/8" mill bit would cut through craft plywood. Since it did pretty well, I ended up using craft plywood for a lot of my tests. It's cheap, sands well, and I can use one piece multiple times, provided my tests are really small. I ended up making 6 of the test pattern and gluing them into a cube. I'd put a photo of it here but I haven't taken one of it yet. My wife took it into school and might have left it there. Also shown here is a really tiny version. I used a printed circuit board milling bit that was 0.8 of a millim

The Shapeoko 2: part 2

Image
I've been having fun with the Shapeoko 2 in the nearly 2 months since I last posted, though I must admit the unit is not as complete as I would have liked. There are a few things about it I wish were standard: Better cable management Better spindle/mill Electronics box Clamping system Feet to help level it Not long after I purchased it, Inventables discontinued the model I bought and released the X-Carve . It addresses many of the issues I listed above, though not all. If I ever feel the need to get a larger unit I might consider it, but I am still fairly happy with the Shapeoko 2. I have been spending some of my time working with the device to address some of the above issues I listed above.  One of the first things I did was to build a box to put the electronics in. I built the box out of acrylic, but almost immediately regretted doing that. Acrylic is fairly difficult to cut. The melting point of it is fairly low so if don't plan for that, blobs of acrylic

CNC Mill: the Shapeoko 2

Image
So I finally broke down and bought a CNC mill. I've been debating getting one for a while. Not sure why, but I wanted to start working with making things with "subtractive" processes instead of "additive". So a CNC mill vs. a 3D printer. I will eventually get a 3D printer, but not until I have a better handle on how to use the CNC mill. I've been following the Shapeoko project for a while and it seemed like a good place to start. They've gone through several iterations and have come up with a system that seemed to work well. They are about to come out with the 3rd iteration of their CNC mill, but since it wasn't out at the time I ordered, I got a Shapeoko 2. I ordered the full kit from Inventables.com . It took about 10 days for them to assemble the order and then a couple more to send it. Upon receiving it I understood why. You get a 30 pound box full of dozens of zip lock bags. Every piece of it is in pretty much the most disassembled state

Better Precision with the Makelangelo

Image
As mentioned in my last post I had ordered two new spools and a pen holder from MarginallyClever . Since then I've received these items and added them to my setup. I also went out and got the most recent code from the Makelangelo repository on Github . Finally I stopped at a local craft supply store and bought some nicer Faber Castell art pens. All this together has produced some rather nice results. To the left is a photo of my 7-year old son after a fresh haircut. The photo, incidentally, was one of the first I'd ever taken with our new Canon 4ti. It's "first light" as it were. This drawing was done with one of the sharper dry-erase markers I'd purchased earlier. Despite wider tip, it still worked out pretty well. One thing to note here: some lines have been removed from the image the software originally created. I found out that once the software finished loading a JPEG (or other) image and converting it, it stores the gcode in a file called "Wi

Makelangelo

Image
I recently spent some more time working on my Drawbot, which is now called a Makelangelo . I don't mind the name change since that makes it easier to find in web searches. I'm not sure of the source of my renewed interest. Possibly because the awesome folks at MarginallyClever.com are frequently making updates to both software and hardware. Possibly also because, like many makers, every so often I get the urge to make something. Or in this case, improve on what I've already made. One of the first changes I made was to how the stepper motors were attached. I still like the idea of not attaching the motors to the board directly. I instead attached them to these corner units I created that hang off the board proper. The reason I do this is because I keep thinking I'll make a bigger board eventually. Building these units once and then shifting them to a new board should, in theory, be easy. Anyway, during a trip to a local hardware store I found some Nylon or plastic