Better Precision with the Makelangelo
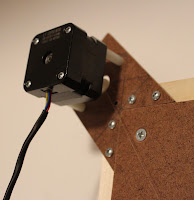
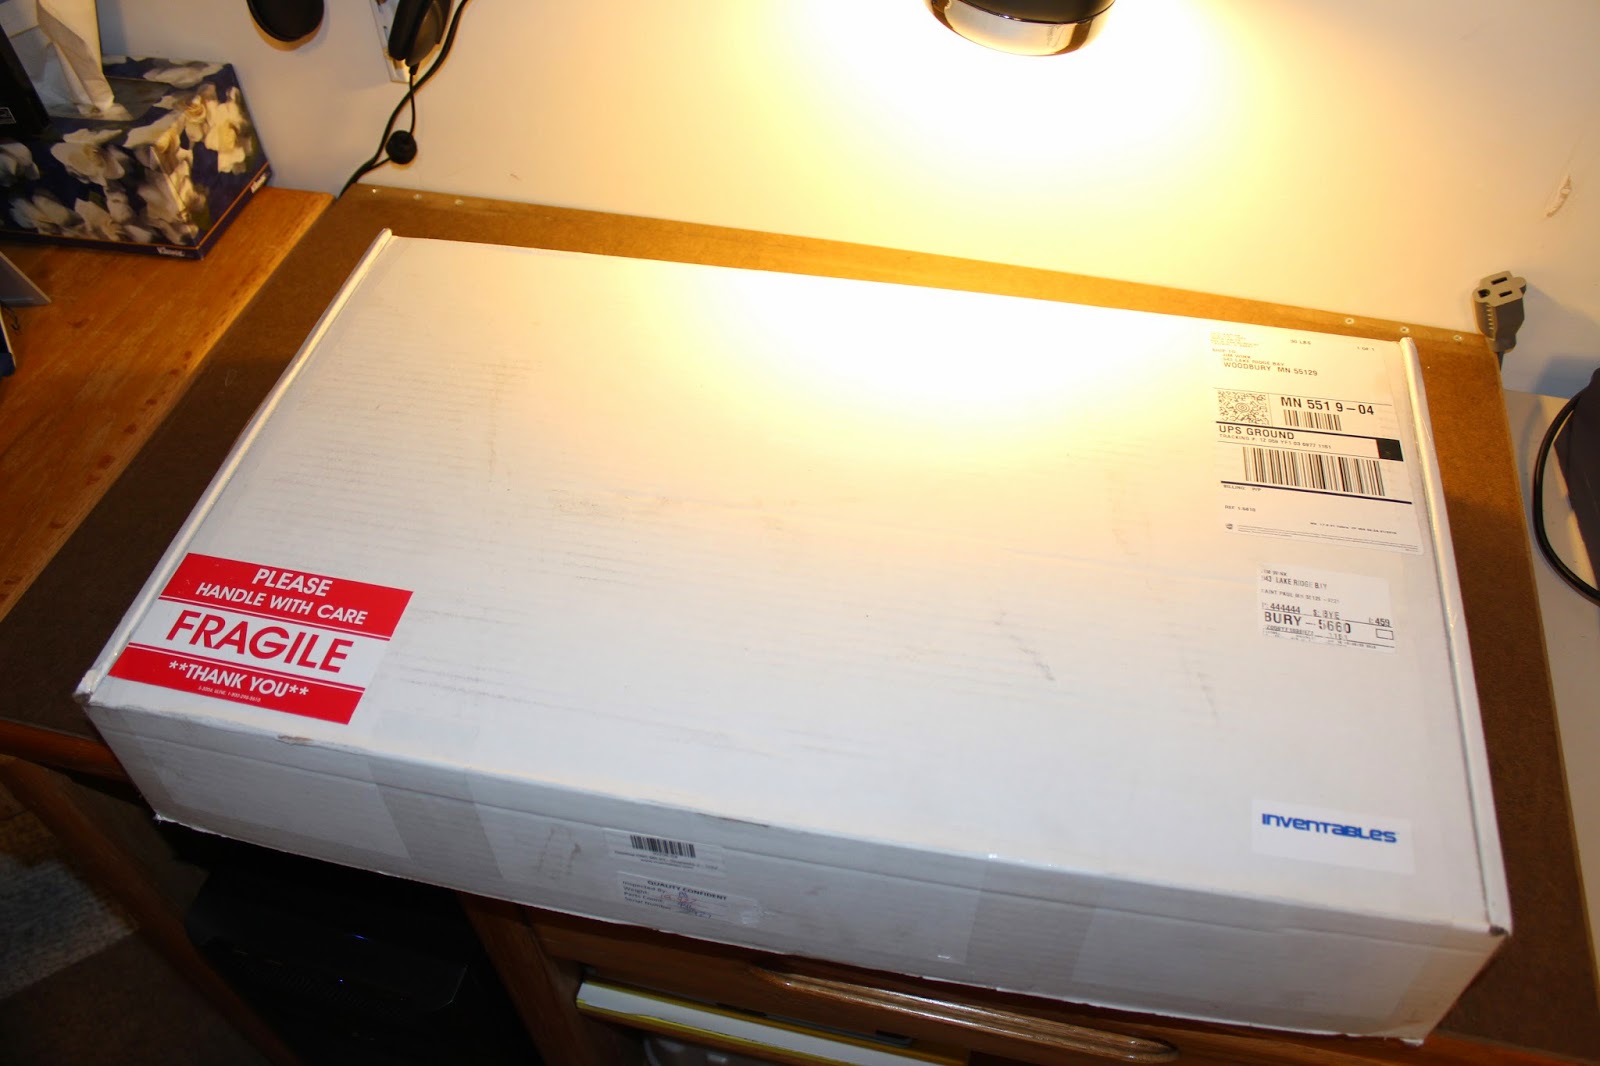
As mentioned in my last post I had ordered two new spools and a pen holder from MarginallyClever. Since then I've received these items and added them to my setup. I also went out and got the most recent code from the Makelangelo repository on Github. Finally I stopped at a local craft supply store and bought some nicer Faber Castell art pens.
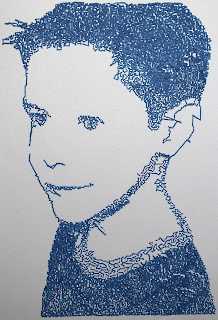 All this together has produced some rather nice results. To the left is a photo of my 7-year old son after a fresh haircut. The photo, incidentally, was one of the first I'd ever taken with our new Canon 4ti. It's "first light" as it were.
This drawing was done with one of the sharper dry-erase markers I'd purchased earlier. Despite wider tip, it still worked out pretty well.
One thing to note here: some lines have been removed from the image the software originally created. I found out that once the software finished loading a JPEG (or other) image and converting it, it stores the gcode in a file called "Windowstemp.ngc". I made a copy and renamed it and then dumped the contents into an Excel spreadsheet.
From there I ran some calculations comparing X and Y values from two lines. Anything greater than 10 would show a character I could later search for and help me find the line in question. When I found it in the gcode file I put a line both above and below the line in question.
The first line I'd add would lift the pen:
G00 Z90
Then the line in question would remain, after which I'd have a command to drop the pen:
G00 Z0
 This effectively removes the line in question from the printed image by lifting the pen before the line and then dropping after. This method worked fairly well for most images since there weren't many of these "travelling" lines.
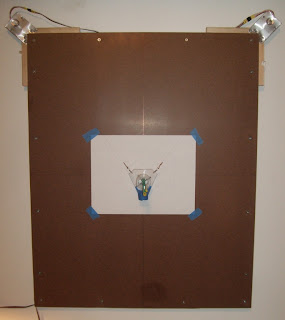
Shown right is another drawing, this one based on a photo of my parent's lake home (it's a bit big to be called a cabin) in Northern Wisconsin. The only lines I really had to remove were lines that went through the windows.
To get this image to look this clear I also needed to increase the contrast and brightness. I also manually went into the JPEG image and just painted white over all the windows so they would stand out. They were already reflecting the sun/sky, but still had some details I felt needed to be removed.
This was, I think, the first image I had done with one of the finer art pens. A size "F", whatever that means. Fairly larger tip, though.
 For a more ambitious image I took the icon for the company I work for - Intertech - where I am a software engineer and consultant. My method of copying to a spreadsheet and using it to find lines to remove was definitely not the best in this case. With the level of granularity I had used in creating the image and the number of lines to remove it took a while.
This image turned out nice, but I think this is the last image for which I will remove lines manually. I will likely write some software to get the job done for the next image. More later if I do.
This was done with a "S" type pen. Thinner still, but not the thinnest I own. I'll have to think of something more ambitious to try the "SX" on later.
The images I've shared here are just a sample of all that I've done. Some haven't turned out as well for various reasons. In printing all these images, one thing I noticed was that some of the images created weren't quite level when done. So I have been keeping a small level available & using it when I first tape the paper to the board.
Even with this improved precision I still see a slight amount of curving in the X-axis. Not sure what else I can do to eliminate that.
Here's a video of part of the Intertech "i" being drawn.
Not sure where to go from here. Like I said, probably some custom software. Probably also some hand coded gcode files to draw something specific. Maybe start with some squares & move on to something like words or phrases.
I've also considered using this to draw patterns on T-shirts. My wife is fairly certain it won't work that well since the pen will likely just snag on the material & not draw properly. Still, might be something to at least try out & see how it goes.
Also note: click on any of these images to see an enlarged version. Didn't know that was an option until I was reading my own blog to search for spelling and grammatical errors.
 All this together has produced some rather nice results. To the left is a photo of my 7-year old son after a fresh haircut. The photo, incidentally, was one of the first I'd ever taken with our new Canon 4ti. It's "first light" as it were.
This drawing was done with one of the sharper dry-erase markers I'd purchased earlier. Despite wider tip, it still worked out pretty well.
One thing to note here: some lines have been removed from the image the software originally created. I found out that once the software finished loading a JPEG (or other) image and converting it, it stores the gcode in a file called "Windowstemp.ngc". I made a copy and renamed it and then dumped the contents into an Excel spreadsheet.
From there I ran some calculations comparing X and Y values from two lines. Anything greater than 10 would show a character I could later search for and help me find the line in question. When I found it in the gcode file I put a line both above and below the line in question.
The first line I'd add would lift the pen:
G00 Z90
Then the line in question would remain, after which I'd have a command to drop the pen:
G00 Z0

Shown right is another drawing, this one based on a photo of my parent's lake home (it's a bit big to be called a cabin) in Northern Wisconsin. The only lines I really had to remove were lines that went through the windows.
To get this image to look this clear I also needed to increase the contrast and brightness. I also manually went into the JPEG image and just painted white over all the windows so they would stand out. They were already reflecting the sun/sky, but still had some details I felt needed to be removed.
This was, I think, the first image I had done with one of the finer art pens. A size "F", whatever that means. Fairly larger tip, though.
 For a more ambitious image I took the icon for the company I work for - Intertech - where I am a software engineer and consultant. My method of copying to a spreadsheet and using it to find lines to remove was definitely not the best in this case. With the level of granularity I had used in creating the image and the number of lines to remove it took a while.
This image turned out nice, but I think this is the last image for which I will remove lines manually. I will likely write some software to get the job done for the next image. More later if I do.
This was done with a "S" type pen. Thinner still, but not the thinnest I own. I'll have to think of something more ambitious to try the "SX" on later.
The images I've shared here are just a sample of all that I've done. Some haven't turned out as well for various reasons. In printing all these images, one thing I noticed was that some of the images created weren't quite level when done. So I have been keeping a small level available & using it when I first tape the paper to the board.
Even with this improved precision I still see a slight amount of curving in the X-axis. Not sure what else I can do to eliminate that.
Here's a video of part of the Intertech "i" being drawn.
Not sure where to go from here. Like I said, probably some custom software. Probably also some hand coded gcode files to draw something specific. Maybe start with some squares & move on to something like words or phrases.
I've also considered using this to draw patterns on T-shirts. My wife is fairly certain it won't work that well since the pen will likely just snag on the material & not draw properly. Still, might be something to at least try out & see how it goes.
Also note: click on any of these images to see an enlarged version. Didn't know that was an option until I was reading my own blog to search for spelling and grammatical errors.
Comments
Post a Comment