Open Heart Kit
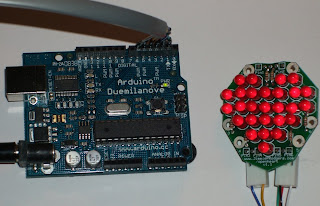
For Valentine's day I decided to create a heart shaped LED display. I had been trying to learn Charlieplexing for a while, but the concept was, for some reason, a difficult one for me. There is an Instructable on the open heart kit, but the photos of the wiring didn't make any sense to me. There was also a schematic (somewhere) along with it, but that wasn't helping me for some reason. I also wanted to make it a surprise for my wife. Its easy to research the idea with her watching, but once I started my trial and error with a heart shape she'd probably wonder. All this coupled with the fact that Valentine's day was fast approaching, I decided to order a kit.


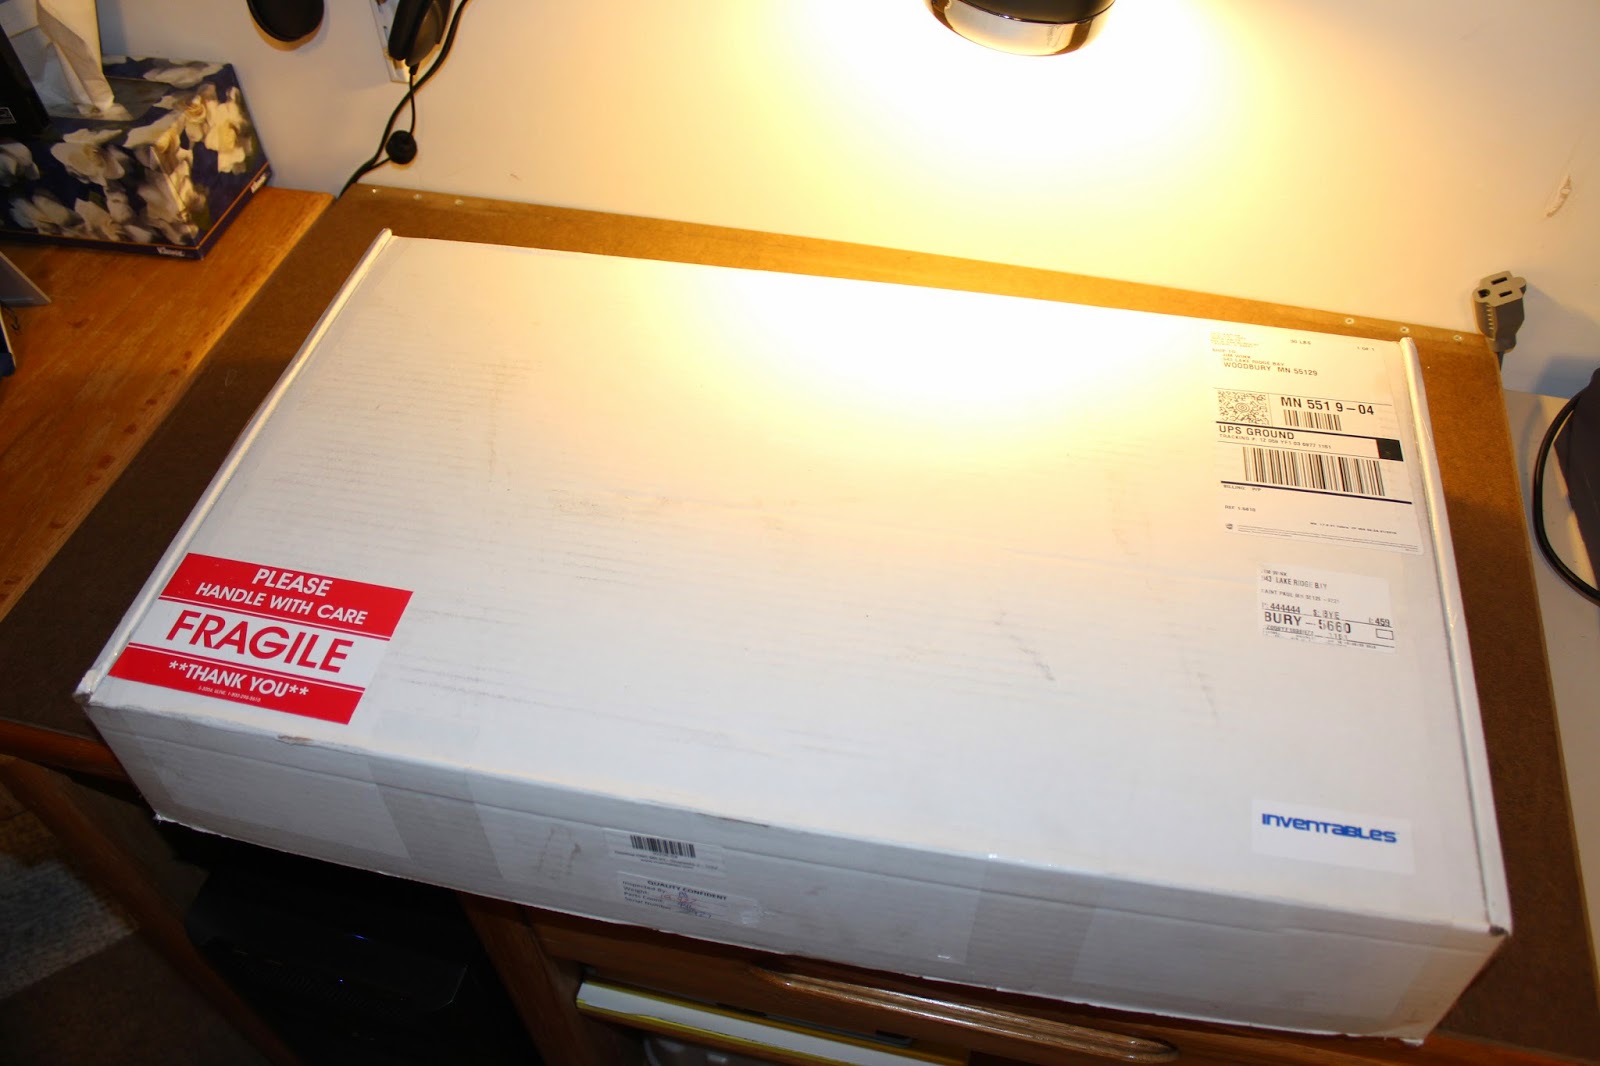
The kit was created by Jimmie Rodgers. I am fairly impressed with it. He doesn't actually sell the kits off of his site. Instead he went with the Maker shed site here. One a side note I wasn't impressed with the size of box they sent. Adafruit and Sparkfun both sent my stuff in a small box which fit in my mailbox. Maker shed sent a huge box with a small envelope inside. Since I sent it to work, it wasn't too hard to hide it from my wife, but still.
Soldering PCB wasn't all that difficult, though I did have trouble keeping the LEDs straight (I need to get a 3rd hand or vise or something). I had that bit done in about an hour or tow.
The real problem came in when I started with the cable. Jimmie Rodgers admits it isn't the best solution, but was the best that fit the need. The PCB needs 6 pins off of the Arduino to go HIGH, LOW, or Input. The cable is there to pass these states on to the board. The problem I had with it is it was a bit stiff and difficult to work with.

I found the connections in the back a bit odd. I don't completely understand why there are three separate plugs. I suspect its that way to accomodate a flexible configuration - the open heart kit can also be sewn into material and connected via conductive thread.
The problem I had with these connectors was that I couldn't get the individual wires to the right length. So the bottom two were fine, but the middle/top was a bit short and kept coming unconnected. I never got around to fixing this because it worked for the most part.
The other problem I had was with the connectors to the Arduino. Included with the kit was a set of break-away headers. I initially just stripped the wires on the other end and attempted to solder them to the headers. Without a third hand or vise I couldn't quite get them to solder very well. They kept breaking. I did get them to stick well enough to prove all my LEDs were connected right before giving up that first night.
The next night I tried breaking up the headers with the thought I could reconfigure them how I liked. This didn't work so well, so I tried some heat shrink tubing to hold the solder joint on. Still didn't keep a good connection. I also tried some super glue, but that was a bit of a mess.

I made one more attempt at getting pin connectors at the other end. I still had some headers left over from an order I'd made from Sparkfun. I cut six off of that and again soldered the wires directly. I did switch them around so the order was correct if I plugged it in directly to a set of pins on the Arduino.
I also used some heat shrink tubing to pins the solder down so it wouldn't come off. This seems to work, but I still wonder whether there's a better solution somewhere.
Jimmie Rodgers took this whole thing a step further and provided a rather nifty way to program it. It's flash site that shows an image of the LEDs that you can click on. You click on each LED to light in a given frame and then add a new frame, click on more, and so forth. You really just have to check it out to understand. Once you've made all the frames you're going to make, you click generate and get some cut/paste-able code you can load into your Arduino.
I wrote a few different animations so I had some variety to show on Valentine's day. My wife and kids thought it was pretty cool. That along with flowers, chocolate, and wine made the day a success.
Here is the code I said I would, eventually, post. Again, I have to point out I did not write this code. This was generated using the Flash tool on Jimmie Rodger's site. To me the coolest part of this project is this code, or possibly cooler the generator. Having the code gives me some great examples of how he did it. Eventually I plan to apply that to a later project that involves a square array of LEDs and an accelerometer. More on that later (hopefully).
//**************************************************************//
// Name : Charlieplexed Heart control //
// Author : Jimmie P Rodgers www.jimmieprodgers.com //
// Date : 08 Feb, 2008 Last update on 02/13/08 //
// Version : 1.3 //
// Notes : Uses Charlieplexing techniques to light up //
// : a matrix of 27 LEDs in the shape of a heart //
// : project website: www.jimmieprodgers.com/openheart //
//**************************************************************** //
#include//This is in the Arduino library
int pin1 =1;
int pin2 =2;
int pin3 =3;
int pin4 =4;
int pin5 =5;
int pin6 =6;
const int pins[] = {
pin1,pin2,pin3,pin4,pin5,pin6};
const int heartpins[27][2] ={
{pin3, pin1},
{pin1, pin3},
{pin2, pin1},
{pin1, pin2},
{pin3, pin4},
{pin4, pin1},
{pin1, pin4},
{pin1, pin5},
{pin6, pin1},
{pin1, pin6},
{pin6, pin2},
{pin4, pin3},
{pin3, pin5},
{pin5, pin3},
{pin5, pin1},
{pin2, pin5},
{pin5, pin2},
{pin2, pin6},
{pin4, pin5},
{pin5, pin4},
{pin3, pin2},
{pin6, pin5},
{pin5, pin6},
{pin4, pin6},
{pin2, pin3},
{pin6, pin4},
{pin4, pin2}
};
int blinkdelay = 200;
//This basically controls brightness. Lower is dimmer
int runspeed = 50;
//smaller = faster
byte heart[][27] PROGMEM ={
{0,0,0,0,0,0,0,0,0,0,0,0,0,1,0,1,0,0,0,0,1,0,0,0,0,0,0},
{0,0,0,0,0,1,1,0,1,1,0,0,1,0,1,0,1,0,0,1,0,1,0,0,1,0,0},
{1,1,1,1,1,0,0,1,0,0,1,1,0,0,0,0,0,1,1,0,0,0,1,1,0,1,1},
{0,0,0,0,0,1,1,0,1,1,0,0,1,0,1,0,1,0,0,1,0,1,0,0,1,0,0},
{2,0,0,0,0,0,0,0,0,0,0,0,0,0,0,0,0,0,0,0,0,0,0,0,0,0,0}};
void setup() {
// blinkall(2); // useful for testing
}
void loop() {
// sequenceon(); // useful for testing
play();
}
void turnon(int led) {
int pospin = heartpins[led][0];
int negpin = heartpins[led][1];
pinMode (pospin, OUTPUT);
pinMode (negpin, OUTPUT);
digitalWrite (pospin, HIGH);
digitalWrite (negpin, LOW);
}
void alloff() {
for(int i = 0; i < 6; i++) {
pinMode (pins[i], INPUT);
}
}
void play() {
boolean run = true;
byte k;
int t = 0;
while(run == true) {
for(int i = 0; i < runspeed; i++) {
for(int j = 0; j < 27; j++) {
k = pgm_read_byte(&(heart[t][j]));
if (k == 2) {
t = 0;
//run = false;
}
else if(k == 1) {
turnon(j);
delayMicroseconds(blinkdelay);
alloff();
}
else if(k == 0) {
delayMicroseconds(blinkdelay);
}
}
} t++;
}
}
void blinkall(int numblink) {
alloff();
for(int n = 0;n < numblink;n++) {
for(int i = 0; i < runspeed; i++) {
for(int j = 0; j < 27; j++) {
turnon(j);
delay(blinkdelay);
alloff();
}
}
delay(500);
}
}
void sequenceon() {
for(int i = 0; i < 27; i++) {
turnon(i);
delay(800);
alloff();
delay(800);
}
}


Comments
Post a Comment