Posts

CNC Mill: the Shapeoko 2
Image
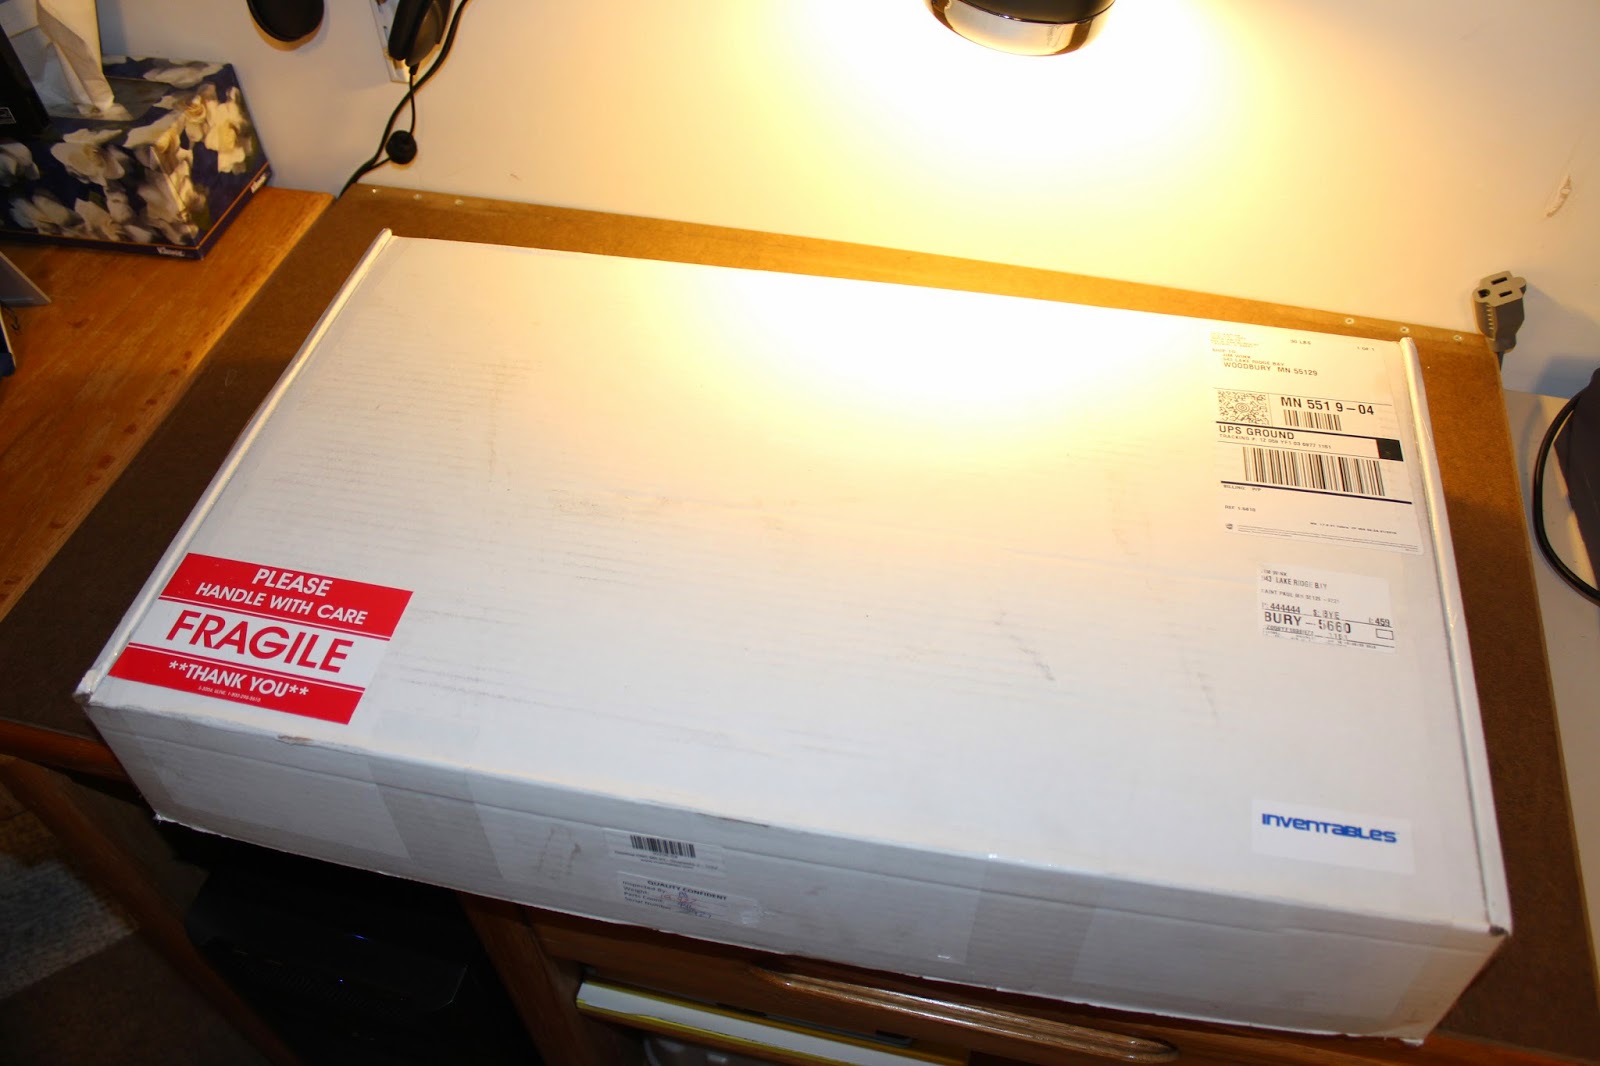
So I finally broke down and bought a CNC mill. I've been debating getting one for a while. Not sure why, but I wanted to start working with making things with "subtractive" processes instead of "additive". So a CNC mill vs. a 3D printer. I will eventually get a 3D printer, but not until I have a better handle on how to use the CNC mill. I've been following the Shapeoko project for a while and it seemed like a good place to start. They've gone through several iterations and have come up with a system that seemed to work well. They are about to come out with the 3rd iteration of their CNC mill, but since it wasn't out at the time I ordered, I got a Shapeoko 2. I ordered the full kit from Inventables.com . It took about 10 days for them to assemble the order and then a couple more to send it. Upon receiving it I understood why. You get a 30 pound box full of dozens of zip lock bags. Every piece of it is in pretty much the most disassembled state ...
Better Precision with the Makelangelo

Image
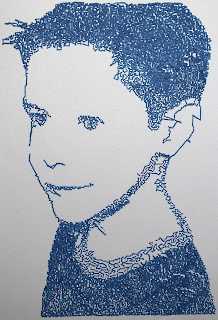
As mentioned in my last post I had ordered two new spools and a pen holder from MarginallyClever . Since then I've received these items and added them to my setup. I also went out and got the most recent code from the Makelangelo repository on Github . Finally I stopped at a local craft supply store and bought some nicer Faber Castell art pens. All this together has produced some rather nice results. To the left is a photo of my 7-year old son after a fresh haircut. The photo, incidentally, was one of the first I'd ever taken with our new Canon 4ti. It's "first light" as it were. This drawing was done with one of the sharper dry-erase markers I'd purchased earlier. Despite wider tip, it still worked out pretty well. One thing to note here: some lines have been removed from the image the software originally created. I found out that once the software finished loading a JPEG (or other) image and converting it, it stores the gcode in a file called "Wi...

Makelangelo

Image
I recently spent some more time working on my Drawbot, which is now called a Makelangelo . I don't mind the name change since that makes it easier to find in web searches. I'm not sure of the source of my renewed interest. Possibly because the awesome folks at MarginallyClever.com are frequently making updates to both software and hardware. Possibly also because, like many makers, every so often I get the urge to make something. Or in this case, improve on what I've already made. One of the first changes I made was to how the stepper motors were attached. I still like the idea of not attaching the motors to the board directly. I instead attached them to these corner units I created that hang off the board proper. The reason I do this is because I keep thinking I'll make a bigger board eventually. Building these units once and then shifting them to a new board should, in theory, be easy. Anyway, during a trip to a local hardware store I found some Nylon or plastic...

Because I forget...

Image
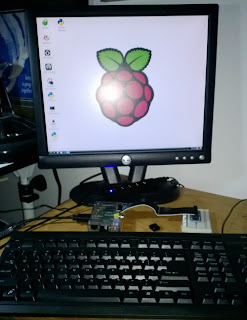
I have a new toy, but because I forget to say anything about it, I have not yet posted. So here it is: It's a Raspberry Pi. Got it from Adafruit a month or so back. More specifically I got: The Rasberry Pi Model B 512MB Ram A Pi Shell - clear case Cobbler Breakout Kit HDMI to VGA Video _ Audio Adapter Armed with these goodies and a spare Dell 17" LCD monitor we had I started setting up. I grabbed and erased a spare 4 gig SD card & grabbed a copy of Wheezy and an imager from the Wiki . Adafruit, of course, has some awesome tutorials on the subject as well. One annoying thing about it was that I couldn't get the thing to display on my old Dell 17" LCD. I had some newer LG monitors it was fine with, so I knew it was working. There is a config file you can set on the SD card from any other computer prior to boot up that sets a variety of initial state items. One was an HMDI boost setting which did the trick. Some time after getting it initially...

DrawBot

Image
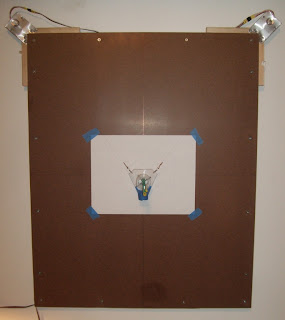
A while back I ran into an article on Make about a Vancouver maker named Dan Royer. The article talks about a kit for something called a DrawBot . The DrawBot uses two stepper motors hung at the upper corners of a flat board. On the steppers are spindles of mono-filament line (fishing line) and between them is a pen. On the board is paper. Running the steppers is an  Arduino  and a  Motorshield . The goal? Have the computer (connected to the Arduino) tell the Drawbot to draw something on the paper. Brilliant, right? Check out his site for videos of the DrawBot doing it's thing. Very cool. The sketch on the Arduino is code written by Dan that is essentially a G-code interpreter. It'll take instructions sent to it by the connected computer and direct the pen accordingly. This is something I'd been looking for: a way to learn G-code, by doing. Seeing as I already had an Arduino. Not an Uno, mind you - a Duemilanova '328 board, but still. I also have a Motorsh...

Atiny85

Image
A while back I ordered an Attiny 2313 from Adafruit . Along with it I ordered a USBtinyISP to program it. For whatever reason I could never get the thing working.  The process involved downloading AVRDude , WinAVR , and various steps of setup. After getting everything installed & following the instructions carefully, I still couldn't get it to work. I did submit some questions on Adafruit's forum & got some answers, but I suspect the problem was either I'd made a mistake in assembling the   USBtinyISP  or just my general lack of understanding of what was going on. It was also possible I'd wrecked the chip, so I gave up after a while. Later I decided it might have been better to take myself out of the equation, so again I ordered another programmer and some chips, this time from Sparkfun: a Pocket AVR programmer , another Attiny 2313 and an Attiny85 . So far I've not gotten around to trying out their AVR programmer & until recently the chips staye...

Persistence of Vision (PoV)

Image
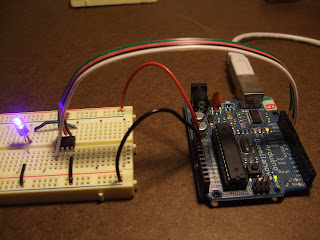
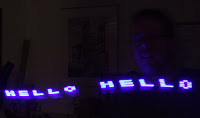
Because it was quick and because I wasn't getting much done on other projects, I decided to look into Persistence of Vision (PoV) . PoV was fairly simple to set up with the RBBB . I put the RBBB in a breadboard, ran a patch to the ground rail and added in five blue LEDs. I started with a sketch of my own that sort of worked, but not well. So I figured I'd have more luck looking on the Arduino playground . There I clicked on Interfacing with Hardware and searched on PoV. There I found a link to an art icle written in German by someone named Michael Zoellner. I didn't understand the German but the sketch that was linked had comments in English. I made some tweaks to the code to allow for adjustments and ran it. It worked fairly well so I updated the setup so I didn't have to run it off of the USB cable & added battery power. This made it easier to hold it in my hand and wave it in front of a camera. I set up a camera on a tripod, lowered the ISO to 100 and turned d...